Understanding the Ingredients
Essential Components for Pastry
To make the perfect Portuguese tart, you need to start with the right ingredients for the pastry. The main components include:
- Flour: All-purpose flour works best.
- Butter: Use unsalted butter for a richer taste.
- Water: Cold water helps in forming the dough.
- Salt: Just a pinch to enhance the flavor.
Key Ingredients for Custard
The custard filling is what makes the pastel de nata so special. Here are the key ingredients:
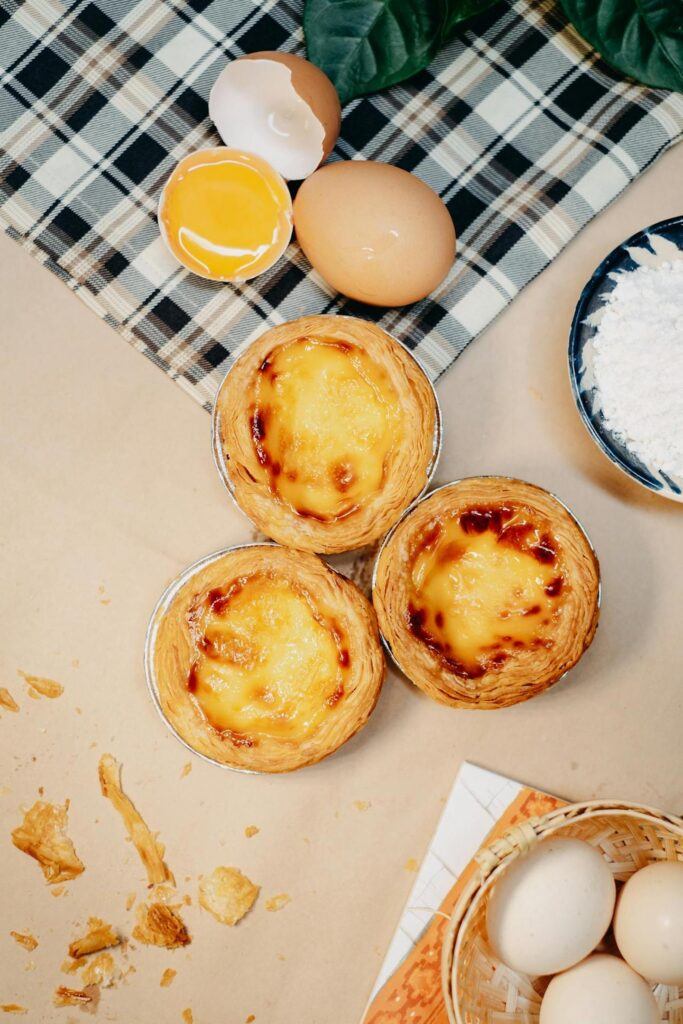
- Milk: Whole milk is preferred for a creamy texture.
- Egg Yolks: They give the custard its rich color and flavor.
- Sugar: Essential for sweetness and stability.
- Cornstarch: Helps in thickening the custard.
- Vanilla: Adds a lovely aroma and flavor.
Optional Flavor Enhancements
While the traditional recipe is delicious on its own, you can add some optional flavors to make it unique:
- Cinnamon: A pinch can add warmth to the custard.
- Lemon Zest: Adds a fresh, zesty flavor.
- Nutmeg: A small amount can enhance the overall taste.
Understanding these ingredients is the first step in making the perfect pastel de nata. With the right components, you’re well on your way to creating a delicious treat!
Preparing the Pastry Dough
Creating the perfect pastry dough for Pastéis de Nata is a crucial step. Follow these steps to ensure your dough is just right.
Making the Sugar Syrup
Creating the sugar syrup is a key step in making delicious Portuguese tarts. This syrup adds sweetness and a touch of flavor to the custard filling.
Combining Sugar and Water
Start by mixing sugar and water in a saucepan. Use ¾ cup of white sugar and ¼ cup of water. Stir them together until the sugar is fully dissolved. This mixture will form the base of your syrup.
Adding Spices
For extra flavor, you can add a cinnamon stick and some lemon zest to the sugar and water mixture. These optional ingredients will give your syrup a subtle, aromatic touch. If you prefer a plain syrup, you can skip this step.
Boiling to the Right Temperature
Place the saucepan over medium heat and bring the mixture to a boil. Let it boil without stirring until it reaches around 220°F (105°C). This should take about 3 minutes. Once it hits the right temperature, remove the cinnamon stick and lemon zest, and set the syrup aside to cool.
Now your sugar syrup is ready to be mixed into the custard filling, adding that perfect touch of sweetness and flavor to your Pasteis de Nata.
Creating the Custard Filling
Mixing the Base Ingredients
To start, gather your ingredients: milk, cream, sugar, flour, and egg yolks. In a small bowl, mix the flour with a bit of milk until it forms a smooth paste. This will help thicken the custard later. Set it aside for now.
Cooking the Custard
- In a saucepan, gently heat the milk and cream together until it starts to simmer. Be careful not to let it boil.
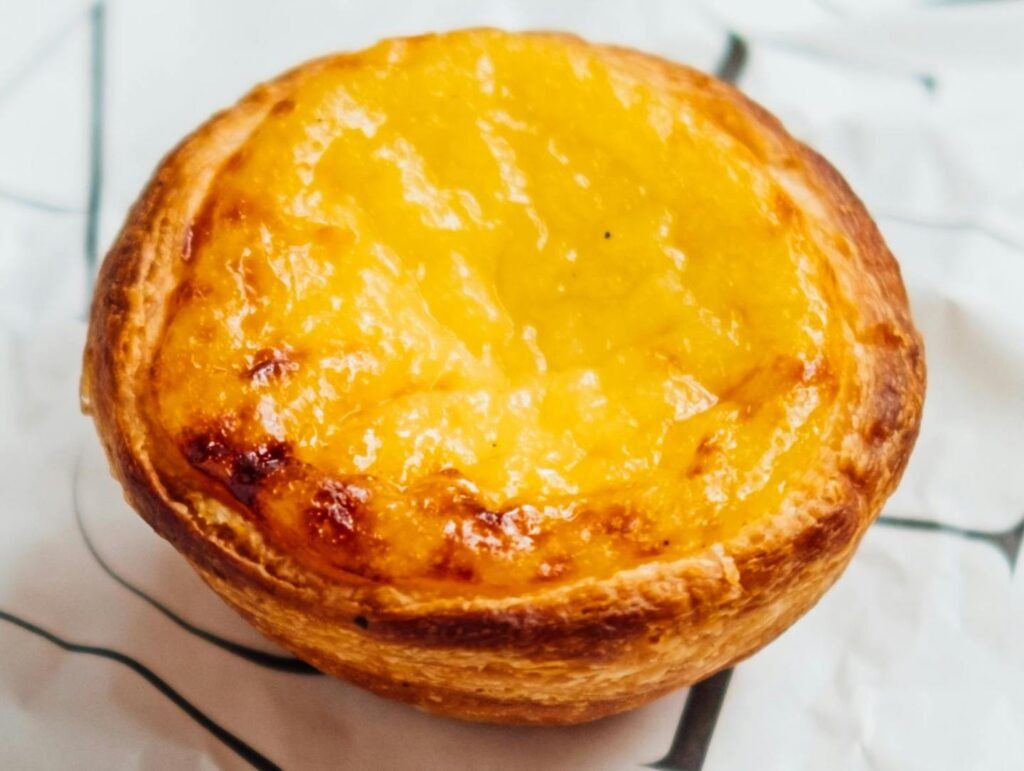
- Slowly add the flour mixture to the simmering milk and cream, whisking constantly to avoid lumps. Continue to cook on medium-low heat until the mixture thickens. You should see small bubbles forming.
- Remove the saucepan from the heat. In a separate bowl, beat the egg yolks. Gradually add a small amount of the hot milk mixture to the yolks, whisking continuously. This process is called tempering and prevents the eggs from scrambling.
- Once tempered, pour the egg mixture back into the saucepan with the rest of the milk mixture. Return to low heat and cook until the custard thickens further. The temperature should reach about 185°F.
Cooling the Mixture
After cooking, remove the custard from the heat and strain it through a fine mesh sieve into a bowl. This step ensures a smooth texture. Cover the surface of the custard with plastic wrap to prevent a skin from forming. Let it cool to room temperature before refrigerating for at least 2-3 hours or overnight. This chilling time allows the flavors to meld and the custard to set properly.
Assembling the Tarts

Shaping the Dough in Molds
- Take the pastry dough out of the fridge and let it sit for a few minutes until it softens slightly.
- Roll the dough on a lightly floured surface until it reaches about 1 inch in diameter and 16 inches long.
- Cut the dough into pieces about 3/4 inch thick.
- Place each piece, cut side down, into a mini-muffin pan or traditional pastéis de nata molds.
- Dip your thumbs in water and press down in the center of each dough piece, flattening it against the bottom and pushing it up the sides to form a raised edge.
Filling with Custard
- Fill each dough cup about 75-80% full with the cooled custard. The custard will puff up as it bakes.
- Use a small ice cream scoop or spoon to make this easier.
Final Touches Before Baking
- Preheat your oven to 550°F (290°C) and place the oven rack in the top third position.
- Bake the tarts until the edges of the dough are frilled and brown, about 6 to 8 minutes. If using traditional molds, bake for 12 to 17 minutes.
- Optionally, switch to broil for the last 4 minutes to achieve the signature scorched top.
- Remove the tarts from the oven and let them cool in the pan for a few minutes before transferring to a rack to cool until just warm.
- Sprinkle generously with cinnamon and serve. These are best enjoyed the day they’re made.
Baking the Perfect Pastéis de Nata
Preheating the Oven
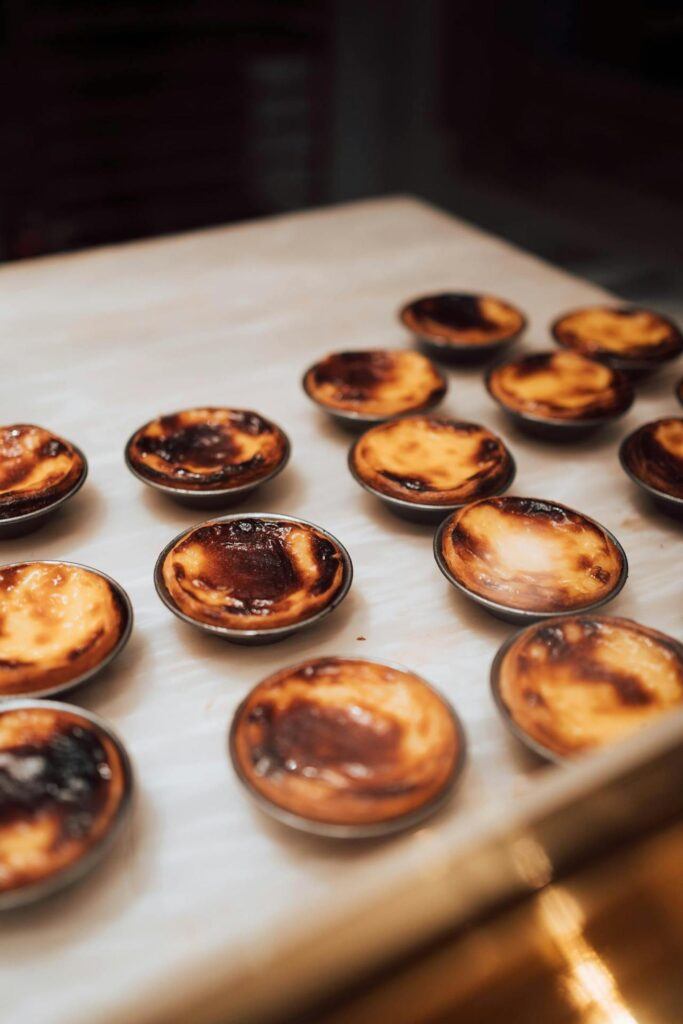
To start, preheat your oven to 550°F. If your oven doesn’t go that high, set it to its maximum temperature, like 450°F. This high heat is crucial for achieving the signature scorched top.
Baking Time and Temperature
Fill the cupcake tins with the pastry, making sure to leave some space for the custard. Pour the custard mix into the pastry, filling each tin about three-quarters full. Bake the tarts for about 10-15 minutes, keeping a close eye on them to avoid overcooking.
Achieving the Signature Scorched Top
The high temperature will help you get that classic scorched top. If your oven has a broiler, you can use it for the last couple of minutes to get an even more caramelized finish. Just be careful not to burn them!
Serving Suggestions

Best Time to Serve
Pastéis de Nata are best enjoyed fresh out of the oven. The custard tarts are warm, creamy, and the pastry is perfectly crisp. Serve them as a delightful breakfast treat, a mid-morning snack, or a sweet ending to a meal.
Pairing with Beverages
These tarts pair wonderfully with a variety of beverages. Here are some suggestions:
- Coffee: A strong espresso or a milky latte complements the sweetness of the tarts.
- Tea: Try them with a robust black tea or a delicate green tea for a balanced flavor experience.
- Wine: For an adult twist, pair with a glass of port or a light white wine.
Garnishing Ideas
While traditional Pastéis de Nata are served plain, you can add a personal touch with these garnishing ideas:
- Cinnamon: A light dusting of ground cinnamon enhances the flavor.
- Powdered Sugar: Sprinkle a bit of powdered sugar for extra sweetness.
- Fruit: Serve with fresh berries or a slice of citrus for a refreshing contrast.
Enjoy experimenting with these suggestions to find your perfect way to serve and enjoy Pastéis de Nata!
Storing and Reheating

Short-Term Storage Tips
To keep your pastéis de nata fresh for a few days, place them in an airtight container. Store them at room temperature if you plan to eat them within 1-2 days. For longer storage, refrigerate them, but remember that the texture might change slightly.
Reheating for Best Results
When you’re ready to enjoy your tarts again, preheat your oven to 350°F (175°C). Place the tarts on a baking sheet and heat them for about 5-10 minutes. This will help them regain their crispiness and warm up the custard. Avoid using a microwave, as it can make the pastry soggy.
Freezing Considerations
If you want to store your pastéis de nata for a longer period, you can freeze them. Wrap each tart individually in plastic wrap and then place them in a freezer-safe bag. They can be frozen for up to 3 months. When you’re ready to eat them, let them thaw at room temperature and then reheat in the oven as mentioned above.
Common Mistakes to Avoid
Overworking the Dough
When making the pastry dough, it’s easy to overwork it. This can make the dough tough and hard to shape. To avoid this, mix the dough just until it comes together. If you knead it too much, the butter layers can melt, leading to a soggy bottom.
Incorrect Baking Temperature
Baking at the wrong temperature can ruin your tarts. If the oven is too hot, the pastry might burn before the custard sets. If it’s too cool, the pastry won’t get crispy. Always preheat your oven and use an oven thermometer to ensure the correct temperature.
Custard Consistency Issues
Getting the custard just right can be tricky. If it’s too runny, it won’t set properly. If it’s too thick, it won’t have that creamy texture. Make sure to follow the recipe closely and cook the custard until it coats the back of a spoon. If you’re unsure, it’s better to err on the side of slightly thicker custard.
Variations and Twists
Adding Citrus Zest
For a fresh twist, try adding some citrus zest to your custard. Lemon or orange zest can give your tarts a bright, zesty flavor. Simply grate the zest of one lemon or orange and mix it into the custard before filling the pastry shells.
Incorporating Different Spices
Spices can transform the flavor profile of your pastéis de nata. Consider adding a pinch of nutmeg, cardamom, or even a bit of ginger to the custard. These spices can add warmth and depth, making your tarts unique.
Using Alternative Sweeteners
If you’re looking to reduce sugar or try something new, you can use alternative sweeteners. Honey, maple syrup, or agave nectar can be used in place of traditional sugar. Just remember to adjust the quantity, as these sweeteners can be more potent than sugar.
Frequently Asked Questions
Can I Use Pre-Made Pastry?
Yes, you can use pre-made pastry to save time. However, making your own pastry will give you a more authentic taste and texture. If you decide to use store-bought pastry, look for puff pastry as it closely resembles the traditional dough used in Pastéis de Nata.
How Long Do They Last?
Pastéis de Nata are best enjoyed fresh out of the oven. If you have leftovers, you can store them in an airtight container at room temperature for up to two days. For longer storage, keep them in the fridge for up to five days. Reheat them in the oven to bring back their crispiness.
Can I Make Them Gluten-Free?
Yes, you can make gluten-free Pastéis de Nata by using gluten-free flour for the pastry and custard. There are many gluten-free flour blends available that work well for baking. Just make sure to follow the instructions on the package for the best results.
Conclusion
Making pastéis de nata at home might seem like a big task, but it’s totally worth it. These crispy, creamy tarts are a real treat and will impress anyone who tries them. Remember, the key is to follow the steps carefully and not rush the process. Whether you stick to the traditional recipe or add your own twist, you’ll end up with something special. So, roll up your sleeves, gather your ingredients, and bring a little taste of Portugal into your kitchen. Happy baking!
Frequently Asked Questions
Can I use pre-made pastry for Pastéis de Nata?
Yes, you can use pre-made pastry to save time. While homemade dough gives the best results, pre-made pastry works fine for a quicker option.
How long do Pastéis de Nata last?
Pastéis de Nata are best enjoyed on the day they are made. However, they can be stored at room temperature for up to two days.
Can I make Pastéis de Nata gluten-free?
Yes, you can make gluten-free Pastéis de Nata by using gluten-free flour for both the dough and the custard. The taste and texture might be slightly different.
What is the best way to reheat Pastéis de Nata?
To reheat Pastéis de Nata, place them in a preheated oven at 350°F (175°C) for about 5-10 minutes. This will help them regain their crispiness.
Can I freeze Pastéis de Nata?
You can freeze Pastéis de Nata, but be aware that the custard may split and become grainy. It’s best to consume them within a month if frozen.
Why is my custard not setting properly?
If your custard isn’t setting, it might be due to undercooking. Make sure to cook the custard until it thickens properly before filling the pastry.
How can I achieve the signature scorched top?
To get the signature scorched top, bake the tarts at a high temperature and use the broiler for the last few minutes. Keep a close eye to avoid burning.
Can I add different flavors to the custard?
Yes, you can add flavors like lemon zest, vanilla, or even a bit of nutmeg to the custard for a unique twist on the traditional recipe.


